Thank you so much for choosing a pottery making kit! Please make sure to watch the demonstration video, and read the whole of this page before you start! Allow 3 hours (including rest time) for this workshop.
What’s in your kit:
Tea towel to work on
Pencil
Scrap paper for planning / making templates
Example templates (H1 = semi detached, H2 = narrow terraced)
Flattened box to return your finished pot(s) in
Hunk of soft clay*
Cheesewire (corks + fishing wire) for cutting clay
Sharp clay knife
Rolling pin
Slurry / soggy clay
Brush for applying slurry
Modelling tools
* we’ve given you more clay than you will need so you don’t run out, please don’t go wild and make a million things - stick to what the kit is designed for.

*if you’ve ordered a kit for two, your clay will come as one big lump rather that two smaller ones.
WATCH THIS VIDEO BEFORE YOU GET STARTED ⤵️

It’s less than 30 minutes in total, and hopefully covers everything you need to know! We refer to plant pots and biscuit jars, but all the advice given is mostly the same when you’re making a ceramic house. We’ve added house specific tips further down the page, but do watch this video first.
If you were making in the studio last year we'd be buzzing around in the background, lending a hand when needed and adding more relevant hints and tips as your piece develops, but as you’re are getting your clay on at home, we’ve tried to load you up with as much guidance as one can fit onto a webpage to set you on the right track for great houses!
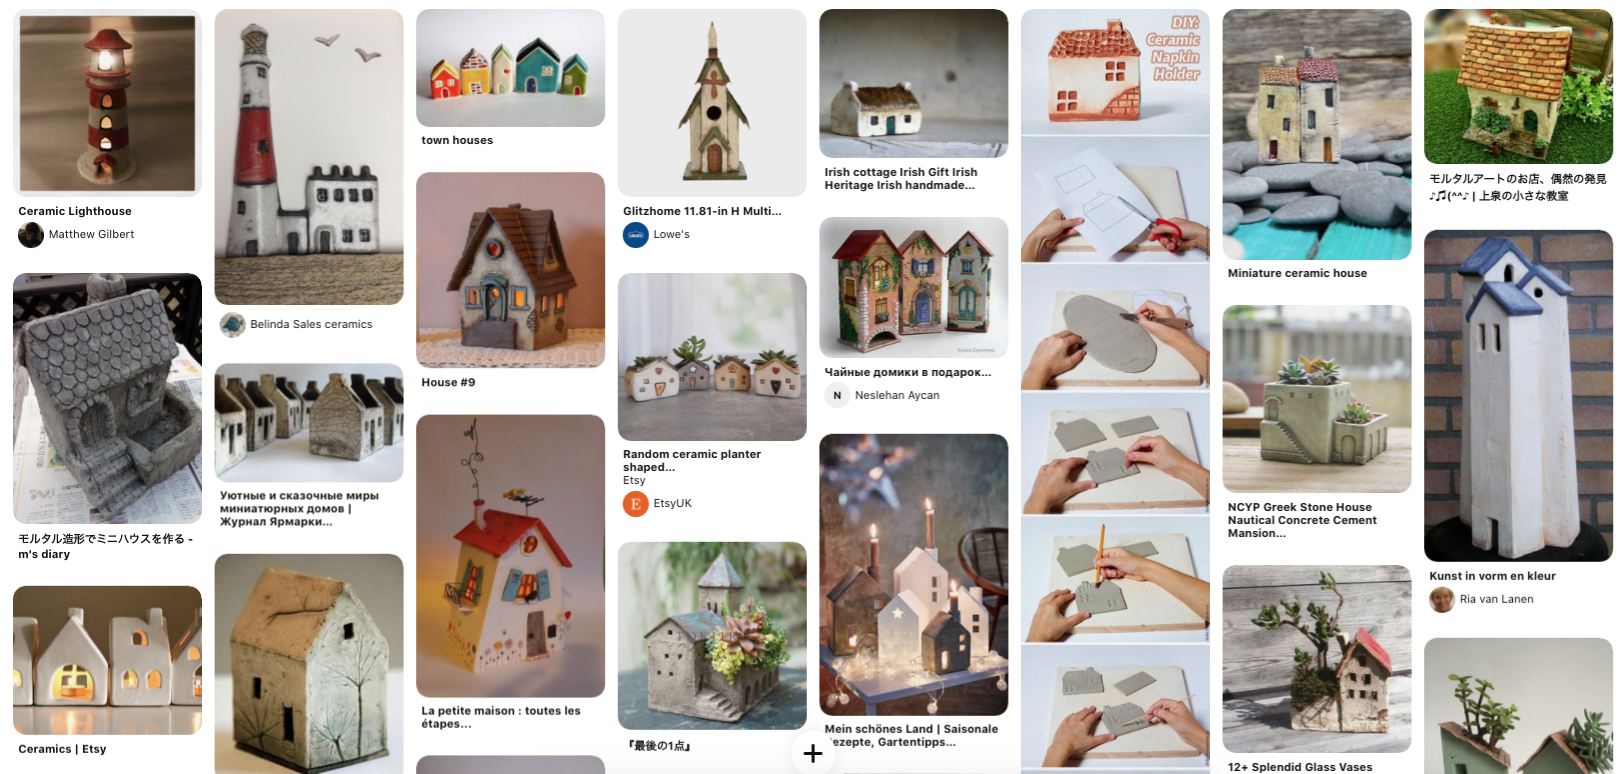
Time to get inspired
Think of this as a virtual version of rummaging through our folders of images, but instead you’re gliding through our Pinterest board. Go on, have a look!

Now for the music! You’ve got to set the mood haven’t you, get that relaxing focus on, or perhaps you need some disco in your life to let your creativity run free. Here’s our offering for you - it’s the Spotify playlist we play in the studio, carefully chosen by our Anna. It covers everything from your classical bangers [The Nutcracker to make it feel as though your brush is practically dancing along the clay], to music to get your pulse racing [cue Jurassic Park theme].
The process
House making TOP TIPS
If you haven’t already, you might like to watch the Pottery Throw Down episode where they make their own ceramic houses. Theirs are about 3 times the size of yours! Watch it before you start, or while your slab is firming up - genius!
Plan first: I’d advise this no matter what you’re making, but it’s especially important with a precise building like a house, think of yourself as a clay architect. It’s a good idea to use your plan to work out how things attach, does it need holes for windows, where will your light source enter and how a lid (if it has one) will sit so it doesn’t slide off. If you decide to make your own template, cut it out and stick it together to make sure it works.

Measure your light source: if your house is to house a light source, whether it’s a tea light or a short string of fairy lights you’re going to want to make sure it fits, so give it a measure before you start. I’d advise using an electric lightsource, rather than a naked flame inside your piece. Your piece will shrink by 10% when drying/firing so add on at least 1cm, but I generally am a bit cautious and add a bit more again.
Structure: because we’re planning on cutting bits out of your house for windows and doors, you’ll want to make sure it feels as even in thickness as possible, or you’ll be at risk of a thin section being not strong enough to support the weight when you start cutting out. In the video we suggest clay is as thick as a pencil and this is a good measure for a the main walls of a house too. Your roof pieces and trimmings can be thinner, approx 5mm minimum, as they will still need to be strong, but if they’re too hunky you might find they are a bit heavy.
Joining: no one wants their house to fall down, or walls to crack while it’s drying so make sure to score, slurry + add thin coils of clay to reinforce those joins. We can’t predict exactly how thick each bit of clay will be, so you might find the template pieces are a bit big and you need to trim as you go, take small amounts off until you achieve a good fit. You might also need to trim pieces after you add texture to them as the pressure can make them grow.
Coiling: if you decide add on to your build your piece using coils, make sure to only use the gooey slip to attach your first coil to the base, after that blending will be enough to join your coils together. Adding extra moisture with slip will mean your pot needs even longer to dry out before it’s ready for cutting out [see below]
Give you clay time to rest/firm up: patience is key here, before you start making, make sure your clay feels firm. After rolling out your clay give it about an 30mins (time for a leisurely a snack break etc) to give your clay a chance to dry before you start cutting. You could also use this time to start experimenting with textures on smaller rolled out pieces of clay.Once you’ve cut your pieces out, leave then for another 30-60 mins or until they feel firm and not floppy.

Plan your cut outs: Before you start making any cuts, pencil your lines on the surface and mark where you will be cutting out.
Finishing your piece: you’ll notice as you cut out sections the edges can look quite raggy. Once your clay as firmed up a little more and the edges of the cut out sections have dried a little more you’ll be able to spend time refining and smoothing, or perhaps you’ll embrace it as a texture, who knows. But in general with clay, things look a bit messy to begin with, but as you carry on and the clay firms you can start to achieve a really nice finish. It’s all about patience and slowness, hence why we’ve suggested you allow at least 3 hrs for this class.
Questions: do send me and email / instagram message if you have any questions after reading all this xoxo
EXTRA TIPS
Drying your pots: when you’re working from home, please don’t try to dry your pots out completely before returning them to us. Clay needs to dry slowly to reduce the chance of it cracking. If you need your clay to firm up a bit you can leave it in the sun / by a heat source for a short period of time but keep checking on it.
If you need to take a long break while you’re making, cover your clay + pot with a plastic bag to stop it from drying out. If you pot starts to dry while you’re making flick some water at the area and use your finger to blend in any fine cracks.
Clay thickness: if you are modelling extra characters such as pets etc for your homes, please don’t make them thicker than 1 inch (about the length of the top section of your thumb). If clay is too thick it is very hard for us to dry it out completely before firing, and clay with moisture trapped inside explodes when it goes through the kiln.
❗️Trapped air: likewise as we mention in the video, trapped air also causes pots to explode. If you were to try and make a hollow ball (as a slightly ridiculous example) you’d need to have a hole somewhere in the surface of your ball for the air to escape through, otherwise it would definitely go bang. Small amounts of air are less dramatic and if you’re lucky they simply make the bit you stuck on fall off.
Please do not scrunch scrap clay back together + then use it again, there’s a chance it will explode and damage your piece and other pieces in the kiln.

RETURNING YOUR FINISHED KIT
Wash all used tools with warm soapy water and pat dry.
Once your pot(s) are firm enough to move round without changing the shape, make up the cardboard box in your kit and put your pots in. If you’re worried they might slide around you can pack out the box with our tea towel or any other scraps of fabric you have - just remember to take your fabric back when you reach the studio.
Use the checklist from the top of this page to make sure you pack everything back into the bag. Scraps of clay should be returned as they can be recycled. Used paper can be disposed of.
Return your kit and pottery to the studio before 5pm on Sunday. Take care to support the bottom of the box as the damp clay may make it a little soft. If you haven’t chosen what colours you’d like your pot painting, now is the time! [see colour chart below + email us your choice].
We’ll be in touch once your pottery is ready to collect, we’re aiming for 4-6 weeks
